The summer Oliver turned six, we visited my grandmother in Georgia during the hottest week of the year. Her kitchen was sweltering, but she’d made her famous banana pudding anyway – layers of vanilla wafers, sliced bananas, and silky pudding piled high in a crystal bowl. Oliver took one bite and declared it the best thing he’d ever tasted, then promptly asked if we could have it for his birthday instead of a regular cake.
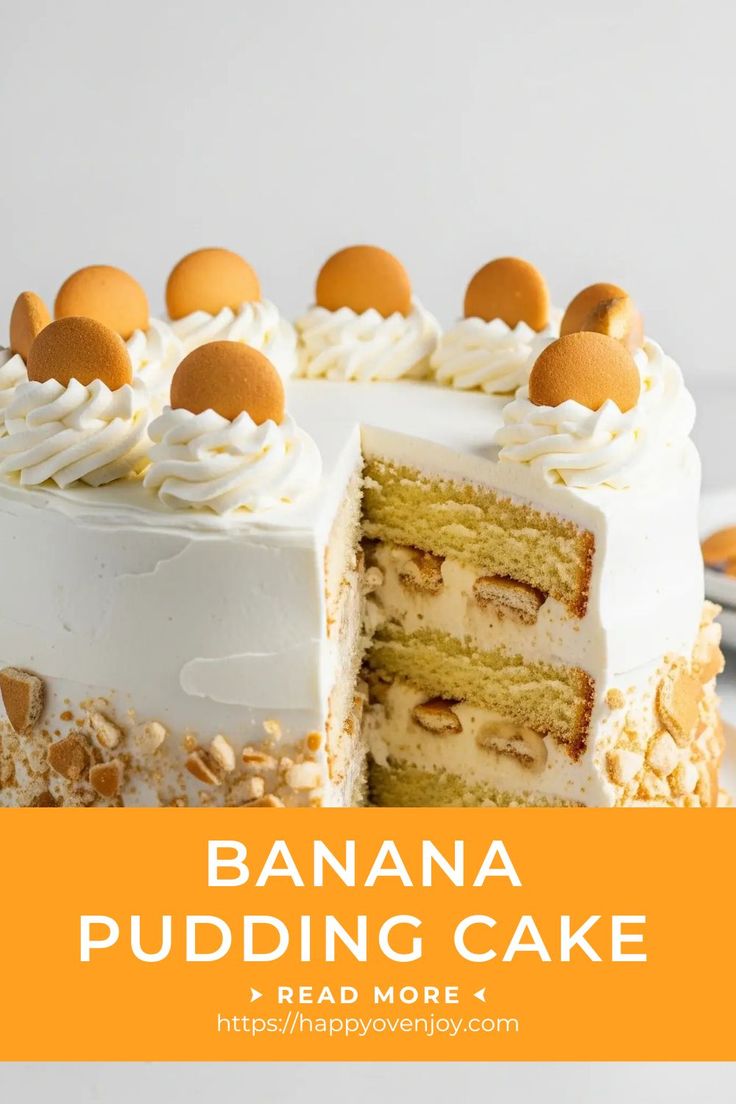
That’s when this banana pudding cake was born – all those beloved flavors, transformed into an actual cake that could handle birthday candles.
Why You’ll Love This Banana Pudding Cake
Let’s be honest – most layered cakes intimidate people. Uneven layers, collapsing tiers, or pudding sliding off can scare even experienced bakers. But this banana pudding cake forgives mistakes.
- Creamy pudding filling hides wonky cuts.
- Whipped topping smooths over any imperfections.
- Rustic, homemade look? Totally fine – everyone will devour it.
- Flavor is pure nostalgia – it tastes exactly like your grandmother’s banana pudding.
At Oliver’s seventh birthday, we served this alongside a fancy bakery cake. Guess which cake the kids (and adults) fought over? You got it – the homemade banana pudding cake. It melts in your mouth, the wafers add crunch, and fresh bananas tie it all together.
Ingredients for Banana Pudding Cake
For the Banana Cake Layers:
- 2 boxes (15.25 oz each) yellow cake mix
- 4 ripe bananas, mashed
- 8 large eggs
- 1 cup vegetable oil
- 1 cup whole milk
- 2 tsp vanilla extract
- 1 tsp cinnamon
For the Pudding Filling:
- 2 boxes (3.4 oz each) instant vanilla pudding mix
- 4 cups cold whole milk
- 8 oz cream cheese, softened
- 14 oz sweetened condensed milk
For Assembly:
- 4–5 ripe bananas, sliced
- 2 boxes vanilla wafers, crushed
- 16 oz whipped topping
- Extra wafers for garnish
Equipment You’ll Need
- Two 9-inch round cake pans
- Electric hand or stand mixer
- Large mixing bowls
- Offset spatula for spreading
- Long serrated knife for slicing layers
- Cake stand or serving plate
- Toothpicks for marking layers
Step-By-Step Instructions
Step 1: Bake the Banana Cake Layers
- Preheat oven to 350°F. Grease cake pans and line with parchment paper.
- In a large bowl, combine cake mix, mashed bananas, eggs, oil, milk, vanilla, and cinnamon. Beat 2–3 minutes until smooth.
- Divide batter between pans and bake 28–32 minutes, or until a toothpick comes out clean.
- Cool in pans 10 minutes before removing.
Step 2: Make the Creamy Pudding Filling
- Beat cream cheese until smooth. Add sweetened condensed milk and mix well.
- In a separate bowl, whisk instant pudding mix with cold milk until thickened.
- Fold pudding mixture into cream cheese mixture. Set aside.
Step 3: Slice and Prep Cake Layers
- Cool cakes completely.
- Using a serrated knife, slice each cake horizontally to create four thin layers. Use toothpicks as a guide.
- Slice bananas ¼-inch thick and toss with lemon juice to prevent browning.
Step 4: Assemble the Cake
- Place the first cake layer on your serving plate. Spread ~¾ cup pudding on top.
- Add a layer of banana slices, then sprinkle with crushed wafers.
- Repeat for all layers, finishing with pudding on top and sides.
Step 5: Finish and Chill
- Spread whipped topping over the entire cake. Smooth or make swoops for a rustic look.
- Decorate with extra wafers and banana slices.
- Cover loosely and refrigerate at least 4 hours or overnight.
Tasty Twists on Banana Pudding Cake
- Chocolate Banana: Use chocolate cake mix + chocolate pudding; top with chocolate shavings.
- Peanut Butter Banana: Add ½ cup peanut butter to pudding; swap cookies for peanut butter cookies.
- Banana Pudding Trifle: Layer in a trifle bowl for parties.
- Caramel Banana: Drizzle caramel sauce between layers; add caramel chips to pudding.
- Strawberry Banana: Add strawberries with banana layers; use strawberry cake mix.
Storage Tips
- Best Fresh: 24–48 hours; bananas stay fresh, wafers stay crunchy.
- Refrigerator: Covered, 3–4 days. Bananas may brown, wafers soften.
- Not Freezer Friendly: Pudding and whipped topping separate when thawed.
Top Tips & Tricks
- Rustic imperfections are fine – pudding hides cuts.
- Remove from fridge 15 minutes before slicing.
- Use a sharp knife dipped in hot water for clean cuts.
- Serve chilled for best texture.
FAQs
1. How do I keep the cake moist?
Overripe bananas + pudding layers keep this cake moist and tender.
2. How to prevent bananas from browning?
Toss slices with lemon juice before layering.
3. Should I make the pudding the night before?
Yes! Overnight chilling sets pudding and softens wafers beautifully.
4. Does this cake need refrigeration?
Always, because of dairy. Consume within 3–4 days.
5. Can I make it chocolate or peanut butter flavored?
Absolutely – see tasty twists section above.
Time for Sweet Success!
You now have the complete guide to homemade banana pudding cake – from baking moist banana layers to creating that creamy, nostalgic filling. Perfect for birthdays, summer parties, or just a sweet memory trip to grandma’s kitchen.