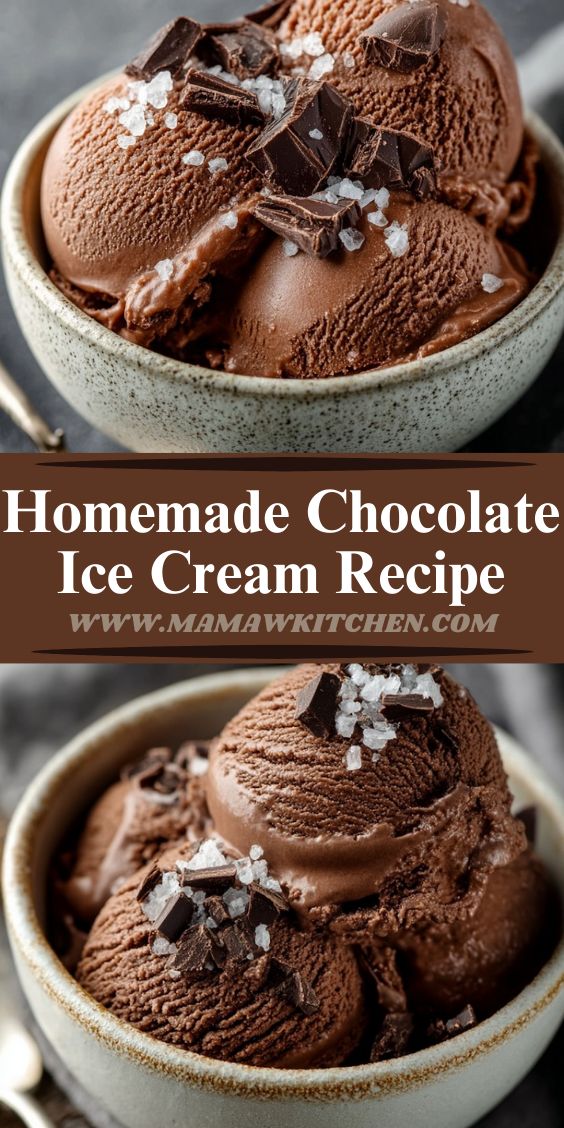
You know that moment when you take your first spoonful of silky, rich chocolate ice cream and your whole world just melts a little? 😍 This homemade chocolate ice cream captures that exact feeling — rich, creamy, and full of deep cocoa flavor that makes every bite taste like pure joy.
This is the kind of recipe that makes you fall in love with making ice cream from scratch. It’s smooth, velvety, and intensely chocolatey — the kind that instantly makes you feel like a kid again, standing at the counter with a spoon in hand, waiting for the ice cream maker to finish its magic.
💕 Why You’ll Love This Chocolate Ice Cream
- Two types of chocolate = double indulgence. Cocoa powder + real chocolate for a bold, deep flavor.
- Only 7 simple ingredients! No fancy stuff, just good-quality basics.
- Luxuriously creamy texture. Thanks to real cream, egg yolks, and a bit of patience.
- Better than store-bought. Once you taste it, you’ll never go back to the tub.
- Perfect for any occasion. Whether it’s a cozy night in or a summer celebration, this ice cream always fits.
🍫 Ingredients You’ll Need
Let’s talk about the heroes behind this creamy masterpiece.
- Heavy cream – The secret to that ultra-smooth, luscious texture. Don’t substitute this one!
- Cocoa powder – Gives your ice cream its deep chocolate soul. For extra richness, try dark cocoa.
- Semisweet chocolate (60%) – Adds layers of flavor and that irresistible chocolate depth.
- Whole milk – Keeps it creamy without being too heavy. Half-and-half works if you prefer.
- Granulated sugar – Balances the bittersweet cocoa.
- Egg yolks – The backbone of the custard base; makes the texture silky.
- Vanilla extract – Just a dash enhances all that chocolate magic.
🧰 Equipment You’ll Need
Making ice cream at home is easier than you think — here’s your toolkit:
- Ice cream maker (any brand you like!)
- Medium saucepan
- Fine mesh strainer
- Whisk
- Heatproof mixing bowl
- Rubber spatula
- Freezer-safe ice cream container
👩🍳 How to Make the Best Homemade Chocolate Ice Cream (Step-by-Step)
Grab your whisk — let’s make some magic happen!
1. Create the Chocolate Base
In a medium saucepan, whisk together 1 cup of heavy cream and cocoa powder until smooth. Bring to a gentle boil over medium heat, whisking constantly. Let it simmer for about 30 seconds, then remove from heat.
Stir in the chopped chocolate until melted and velvety. Add the remaining 1 cup of cream, whisk well, and transfer this rich mixture to a large bowl. Set a fine mesh strainer over the bowl — it’ll catch any bits later.
Tip: This step builds your flavor foundation. Smells amazing already, right? 🍫
2. Make the Custard
In another saucepan, whisk together milk, sugar, and a pinch of sea salt. Warm it gently — don’t boil.
Meanwhile, whisk the egg yolks in a small bowl. Slowly pour about ½ cup of the warm milk into the yolks while whisking constantly (this “tempers” the eggs so they don’t scramble).
Pour the tempered yolk mixture back into the saucepan and cook over medium heat, stirring continuously with a spatula, until it thickens and lightly coats the back of the spoon — about 170°F. You’ll know it’s ready when it feels like warm custard.
3. Combine the Magic
Pour this warm custard through your mesh strainer into the chocolate mixture. Stir gently until everything unites into one glossy, chocolatey base. Discard any small bits left behind.
Add the vanilla extract and give it one last loving stir.
4. Chill It
Now, patience time! Cover the bowl and refrigerate for at least 6 hours, or overnight for best results. The colder your base, the creamier your final ice cream.
If you’re impatient (hey, we’ve all been there 🙈), you can use an ice bath to cool it faster — just set your bowl in a larger bowl of ice water and stir often.
5. Churn the Ice Cream
Once chilled, pour your mixture into your ice cream maker and churn for 30–40 minutes, or until thick and creamy like soft serve.
If you don’t have an ice cream maker, no worries! Pour it into a freezer-safe dish, freeze for 1 hour, then stir vigorously every 30 minutes until smooth and frozen (this usually takes 3–6 hours). A bit of an arm workout — but so worth it! 💪🍦
6. Freeze and Set
Scoop the churned ice cream into a lidded container, smooth the top, and freeze for at least 6 hours (overnight is best). When it’s time, let it sit at room temp for 5 minutes before scooping for that perfect creamy texture.
🍨 Serving Ideas
Here’s where you get to play!
- Scoop it into cones and drizzle with hot fudge or caramel.
- Sandwich it between chocolate chip cookies for a dreamy ice cream sandwich.
- Add a dollop of whipped cream and chocolate shavings for extra flair.
- Or go classic: eat it straight from the container while watching your favorite show — no judgment here. 😋
💡 Tips for the Creamiest Ice Cream
- Don’t skip chilling — it’s the secret to a smooth, creamy texture.
- Always use real heavy cream for that melt-in-your-mouth feel.
- Want darker chocolate flavor? Use 70% dark chocolate and dark cocoa powder.
- Mix-ins like mini marshmallows, brownie chunks, or crushed Oreos can be added during the last few minutes of churning.
🧊 Storage
Keep your ice cream in an airtight container for up to 2 months (if it lasts that long!). To prevent ice crystals, press a small piece of parchment paper directly onto the surface before sealing.
❓FAQs
Q: Can I make this without eggs?
You can, but the texture will be less custardy and more icy. Use extra cream to compensate.
Q: My ice cream turned grainy — what happened?
It probably wasn’t chilled enough before churning. Make sure the base is very cold!
Q: Can I use milk chocolate instead?
Absolutely! Just expect a sweeter and lighter flavor.
Q: What if I don’t have an ice cream maker?
Follow the hand-churning method — freeze, stir every 30 minutes until creamy.
Q: Can I double this recipe?
Yes! Just make sure your ice cream maker can handle the extra volume.
🥄 Final Scoop
There’s something magical about homemade ice cream. The anticipation, the smell of warm chocolate melting into cream, and that first silky spoonful — it’s happiness frozen in a bowl. ❤️
Once you try this homemade chocolate ice cream, store-bought will never taste the same again. Promise. 🍦✨